Best soft nail caps for cats: the two real options
At the intake desk, the declawing question came up constantly: is there a way to save the couch without surgery? Nail caps were usually the follow-up question, right behind “is that cruel.” They’re not cruel when they’re applied correctly and replaced on schedule, but they’re also not a glue-it-and-forget-it fix. Here are the two worth trying, and the one upkeep detail that matters more than which color you pick.
As Amazon Associates we earn from qualifying purchases. Some links in this post are affiliate links; if you buy through them, we earn a small commission at no extra cost to you. We only recommend products we’ve used or researched thoroughly. See our full disclosure.
The two nail caps, at a glance
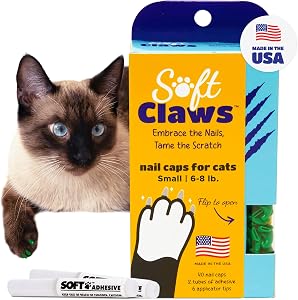
Soft Claws Cat Nail Caps
Veterinarian-developed · vinyl caps · sized kitten through extra-large
- ✓ The same basic design Dr. Toby Wexler patented in 1990, the invention this whole product category is built on
- ✓ Kit includes adhesive and applicator tips for a full at-home application
- ✓ Sized from kitten through extra-large
on Amazon

Purrdy Paws Soft Nail Caps
Veterinarian-developed · over 30 colors and glitter or glow-in-the-dark finishes · sized kitten through large
- ✓ Same basic vinyl-cap-and-adhesive design as the original, in far more color and finish options
- ✓ Complete kit includes caps, glue and applicator tips
- ✓ Sized kitten through large by approximate weight
on Amazon
Quick take:
- The AVMA lists nail caps as one option inside a longer toolkit for redirecting scratching, alongside frequent trims, appropriate scratching posts and positive reinforcement. They’re not meant to stand alone.1
- Only apply caps to a cat who already tolerates having her paws handled. Cornell’s guidance treats that as a prerequisite, not a skill the caps themselves teach.2
- The sources don’t fully agree on replacement schedule: the AVMA says every 4 to 6 weeks, Cornell’s page says 6 to 12. Given that an overgrown nail can curl into the paw pad, the shorter interval is the safer default, especially since a cap hides the visual cue you’d normally use to catch it.123
- Soft Claws is the original 1990 design the category is built on. Purrdy Paws runs the identical basic idea in far more colors if a plain cap is a hard sell to whoever in the house does the gluing.
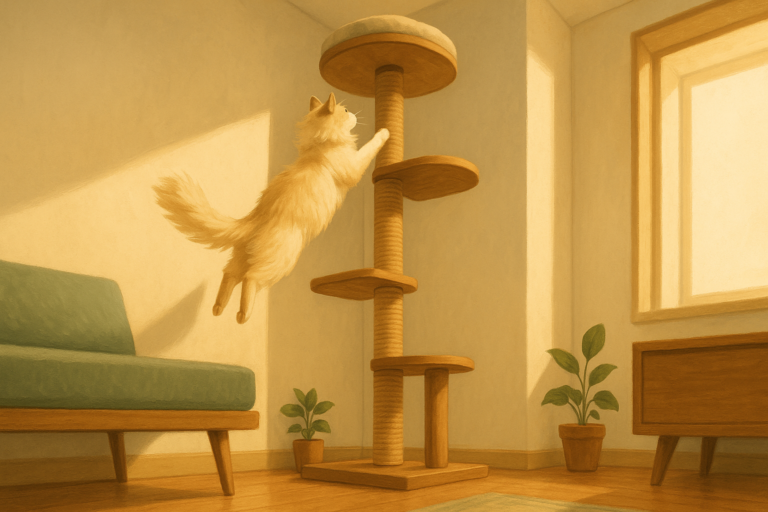
- Indoor cats don’t wear their nails down the way a cat climbing trees outdoors does, so regular trims matter here more than the packaging usually lets on, caps or no caps.3
What caps actually do, and don’t
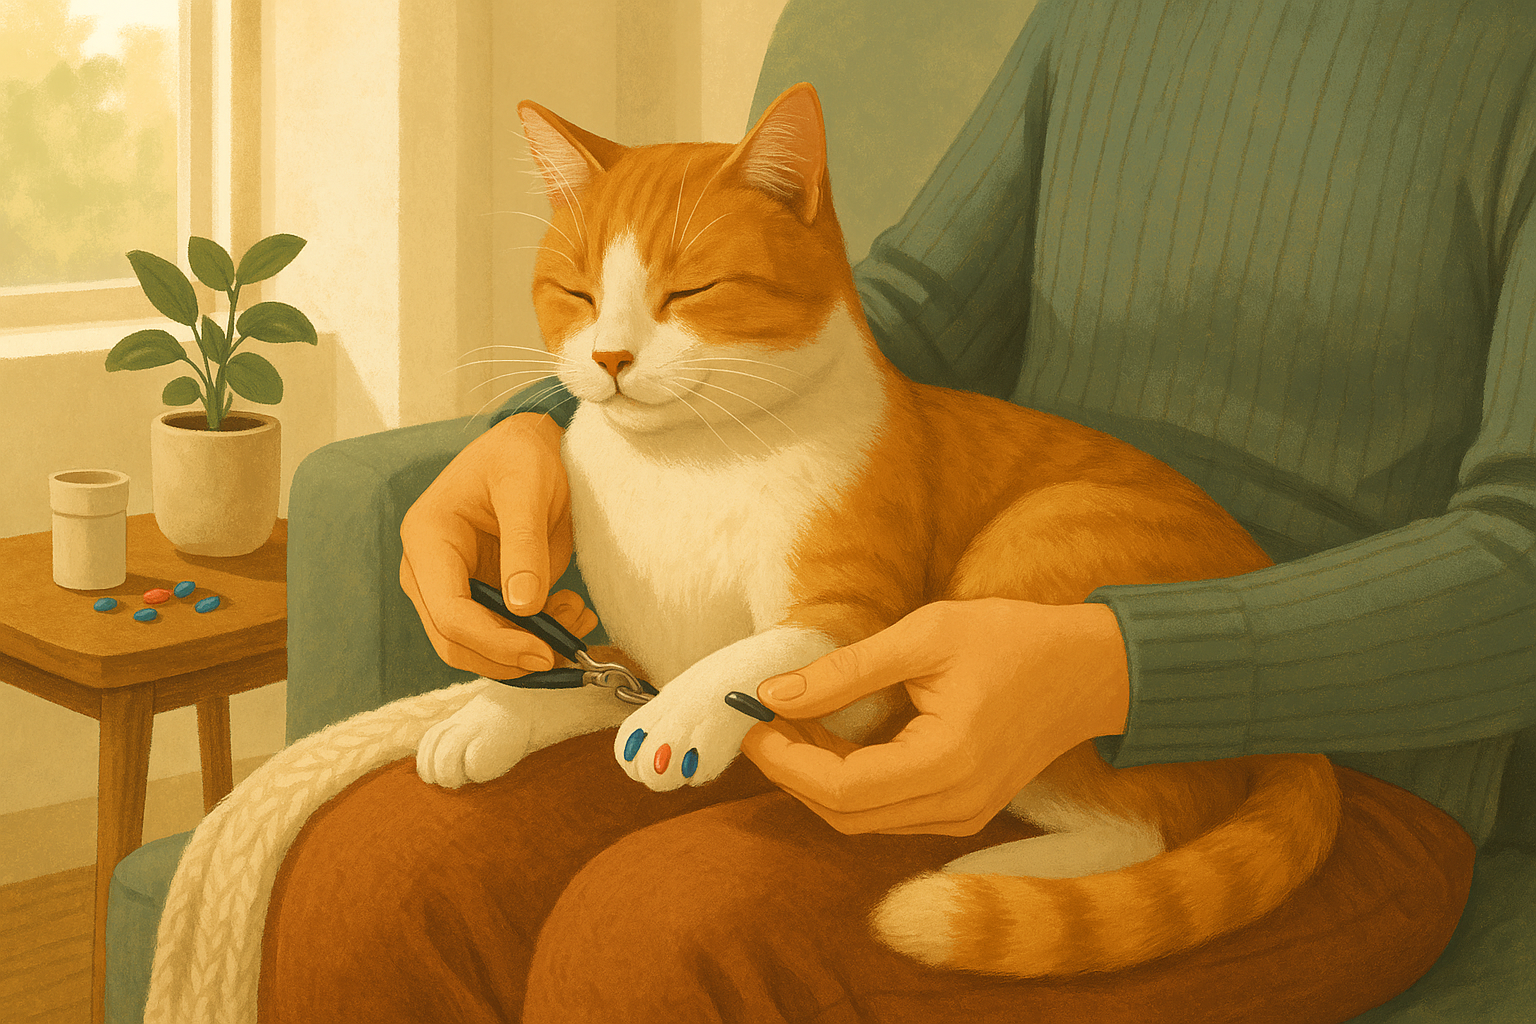
A nail cap is a small vinyl sheath glued over a claw that’s already been trimmed. The cat can still extend and retract the claw underneath and go through the full motion of scratching. What changes is that a blunt vinyl tip touches the couch instead of a hooked point. Scratching itself is a normal, scent-marking behavior, not a habit to be trained away, which is exactly why the AVMA lists caps next to appropriate scratching surfaces and frequent trims rather than in place of them.1 A cat wearing caps but still stuck with the wrong scratching post is still going to scratch it. Get her a post that matches her preferred angle and material first, then let the caps absorb whatever damage is left.
The upkeep gap between the sources
Here’s the honest inconsistency: the AVMA’s owner guidance says to replace a set of caps every 4 to 6 weeks. Cornell’s Feline Health Center guidance says 6 to 12.12 Neither is wrong exactly, since nail growth rate varies by cat, but the longer Cornell window assumes you’re still checking regularly for a cap that’s loosened or a nail that’s grown past it. VCA’s nail-trimming guidance is why I’d lean toward the shorter end by default: an overgrown claw can curl around and grow directly into the paw pad, and a cap sitting over that claw hides the one visual signal, a visibly long, curling nail, that would normally tell you to step in.3 If you’re not confident you’ll check on schedule, 4 to 6 weeks is the safer habit to build.

When to talk to your vet instead
Call your vet if a cap is causing redness, swelling or obvious pain where it meets the skin, if your cat starts limping or favoring a paw, or if she won’t tolerate paw handling at all. That last one is a sign to fall back on trims and a better-matched scratching post instead of forcing caps on. A groomer or vet tech can also do the first application or two while you both get comfortable with it.
The bottom line
Nail caps are a legitimate tool, not a magic one. Soft Claws is the original design and still does the job. Purrdy Paws does the identical job in more colors, which helps when a reluctant family member is the one doing the gluing. Either way, the schedule matters more than the brand: replace them every 4 to 6 weeks, and keep an eye on the claw underneath.
Sources
- American Veterinary Medical Association, “Alternatives to declawing”
- Cornell Feline Health Center, “Feline Behavior Problems: Destructive Behavior”
- VCA Animal Hospitals, “How to Trim a Cat’s Nails”
TheCatWellness is reader-supported and we are not veterinarians. This article is general information, not medical advice for your individual cat. If a nail cap is causing pain, swelling or a limp, talk to your vet.